This post may contain affiliate links. We may earn commission if you shop from one of our links.
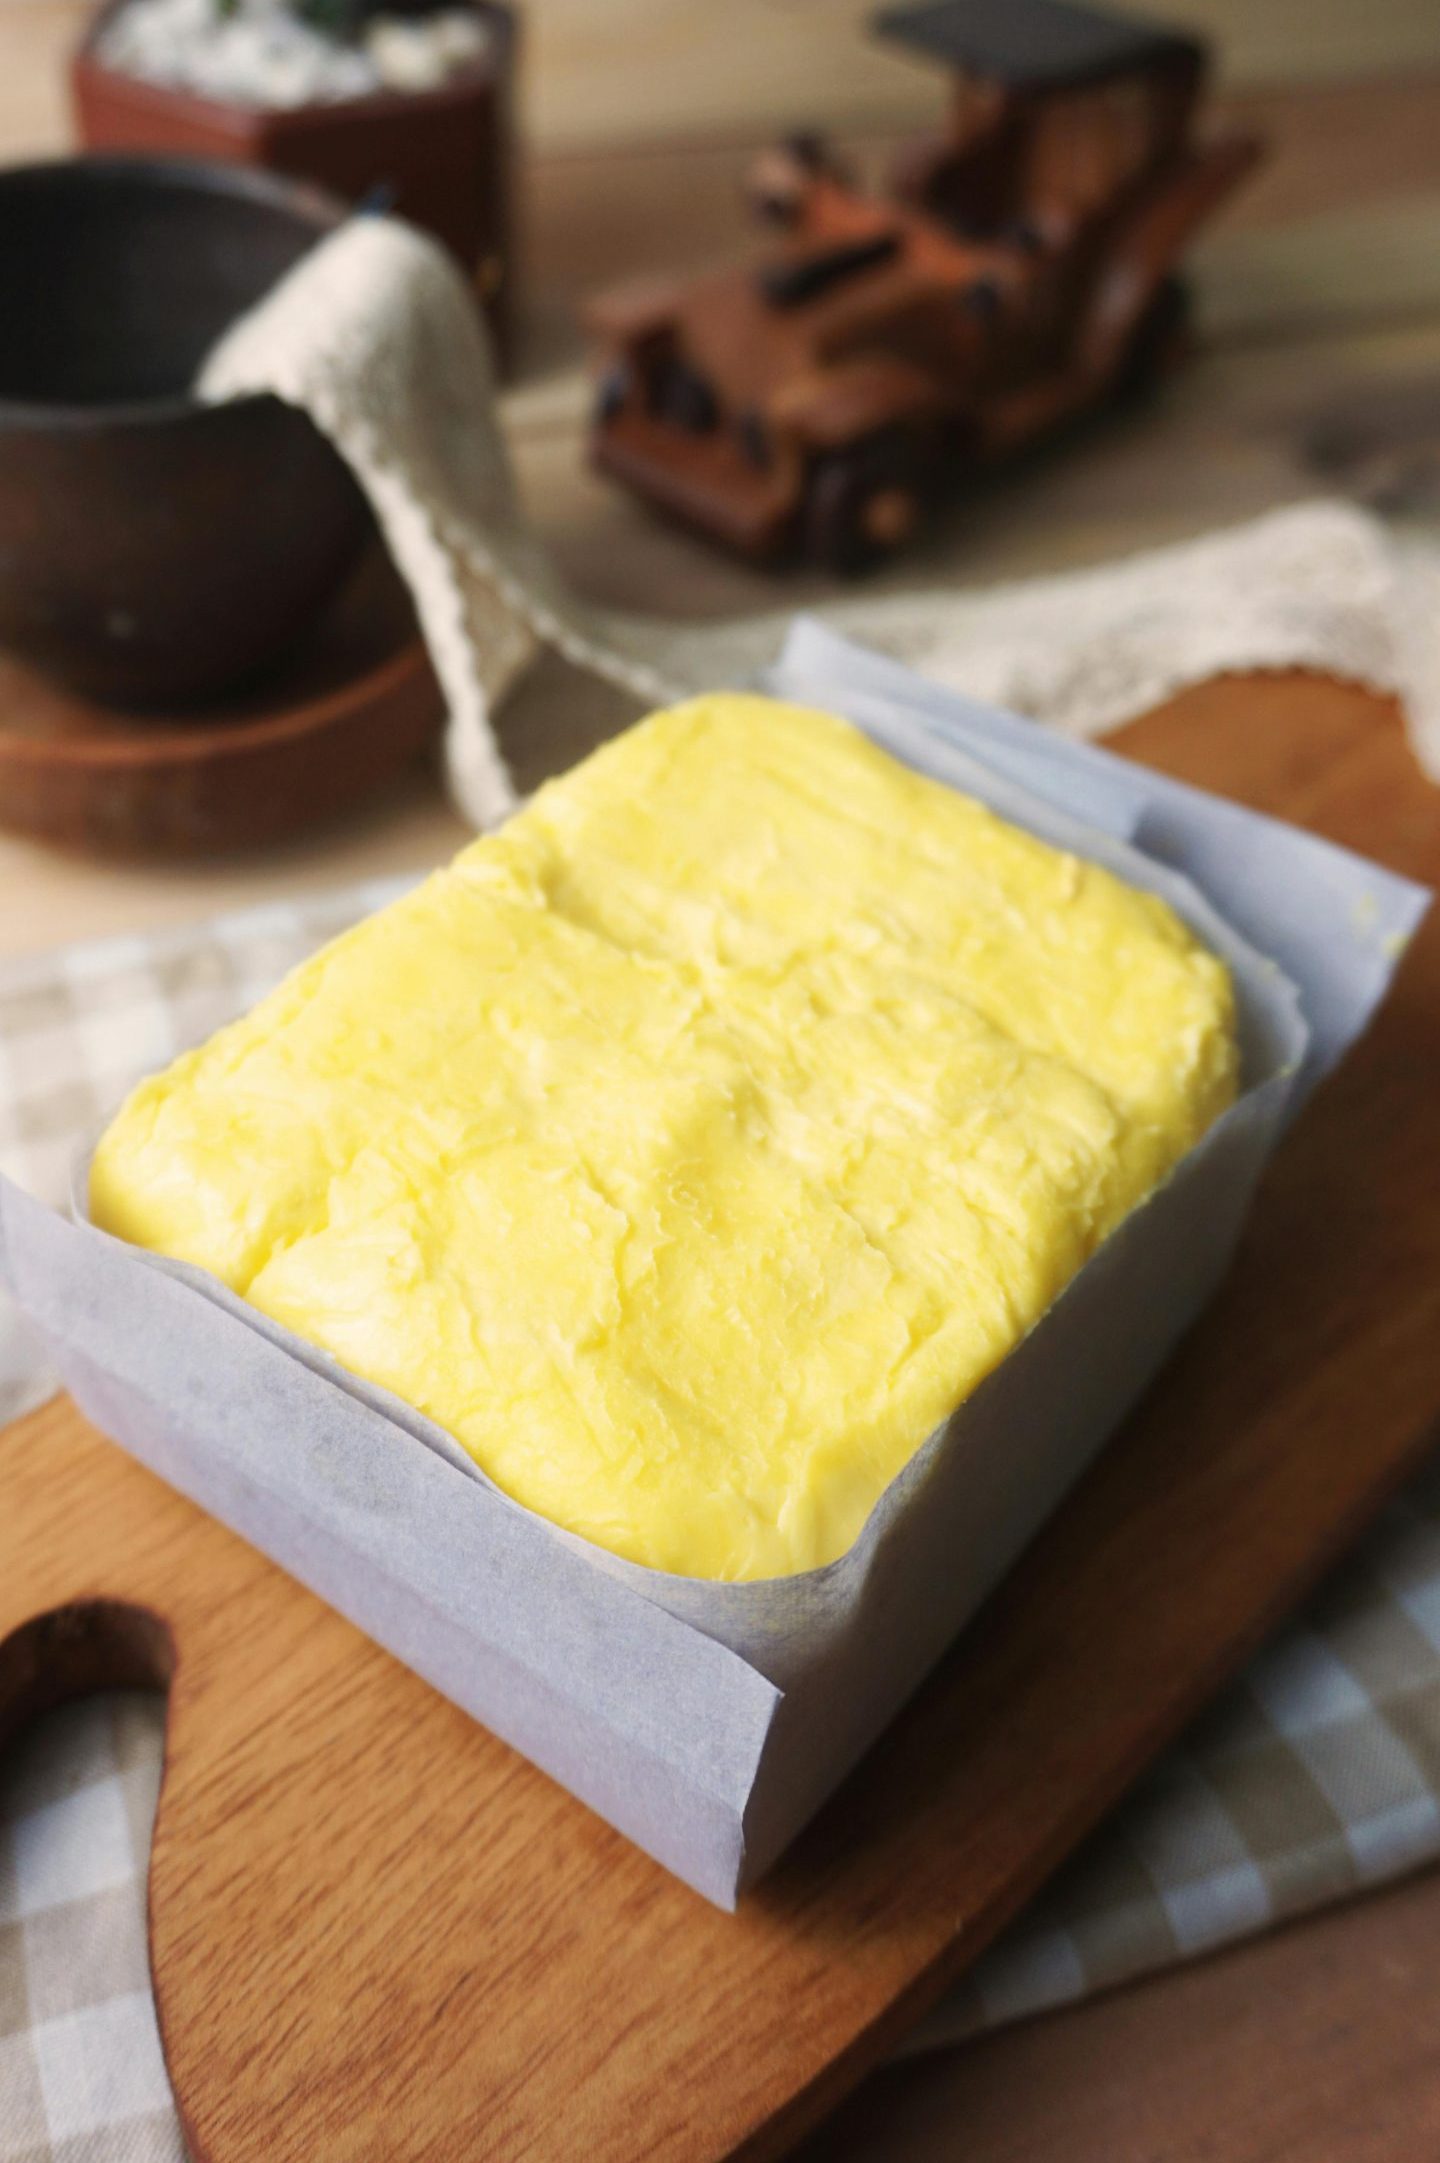
Making homemade butter is easier than you might think—and it only takes one ingredient: heavy cream! With a mixer, food processor, or even just a jar, you can whip up fresh, creamy butter in no time. It’s a fun and simple way to bring a little old-fashioned charm into your kitchen, and the results are delicious. You’ll also get buttermilk as a bonus, perfect for pancakes or baking. Add a pinch of salt or mix in herbs and honey for extra flavor. Once you try homemade butter, you might never go back to store-bought again!
From just 2 cups of heavy cream, you’ll get about 3/4 cup of rich, creamy butter—roughly the same as a stick and a half—and around 1 cup of fresh buttermilk as a bonus (here’s how to use it!). The yield can vary a little depending on the fat content of your cream, but it’s always satisfying to see how much you can get from such a simple process.
Once your butter is ready, proper storage is key to keeping it fresh and flavorful. Store it in an airtight container in the fridge, where it will last for about 7 to 10 days. Be sure to rinse it well during the making process to remove all the buttermilk, as leftover liquid can cause it to spoil faster. For longer storage, you can freeze homemade butter for up to 3 months—just wrap it tightly and place it in a freezer-safe container. If you plan to use it quickly, a butter bell or crock on the counter will keep it soft and spreadable for a few days.
Here’s what you’ll need:
· A mixer – a stand mixer or food processor will work just fine, even a hand mixer! The cleanest option is a stand mixer with a towel over it or a good processor.
· No mixer? No sweat (or maybe just a bit of sweat). Use a mason jar! They are great for the shake-by-hand method.
· Fine mesh strainer or cheesecloth – Helps separate the butter from the buttermilk.
· Silicone spatula – For scraping down bowls and kneading the butter.
· Mixing bowls – Use for whipping and rinsing the butter, and then adding any additional ingredients, e.g., herbs, honey.
Nice to have, but not needed:
· Butter Molds – For shaping your butter into neat blocks or fun shapes.
· Butter bell – For storing and serving butter at room temperature.
· Butter Paddle Set – For squeezing out buttermilk the traditional way.
· Refrigerator Butter Keeper – For storing finished butter in the refrigerator.
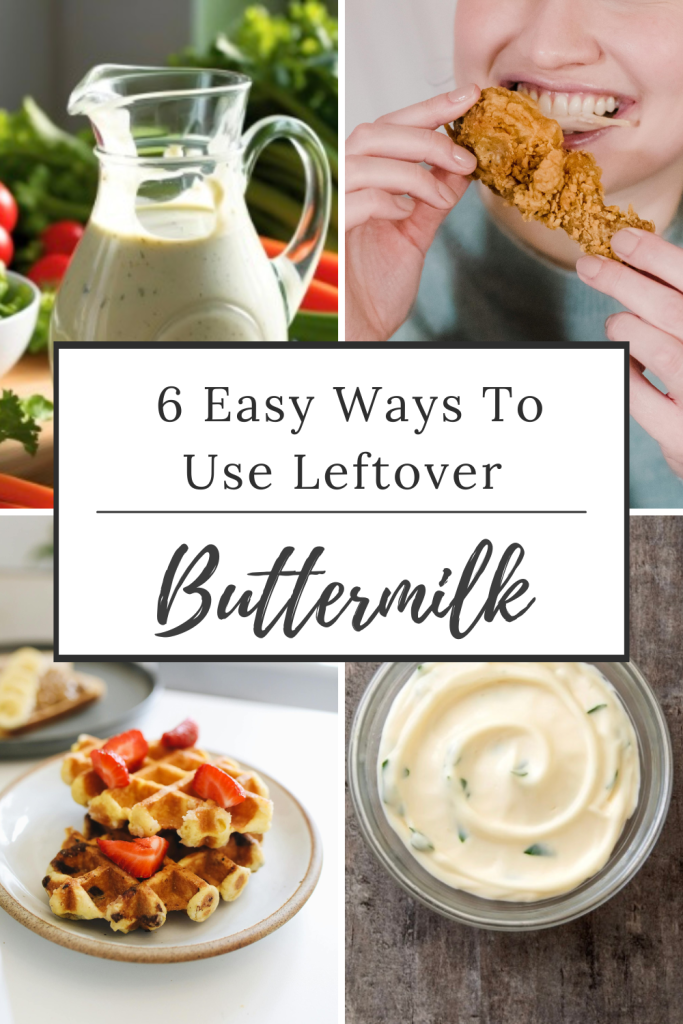
· Glass Buttermilk Jug – For storing the leftover buttermilk.
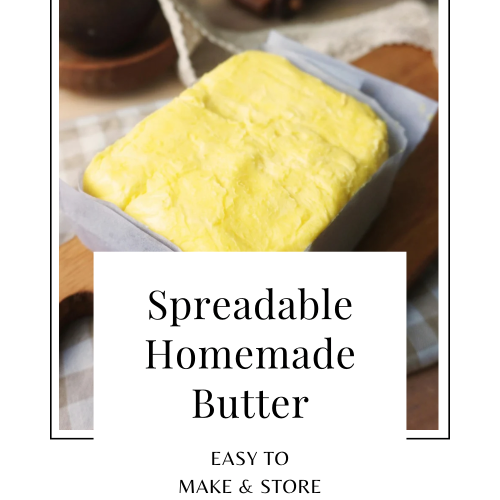
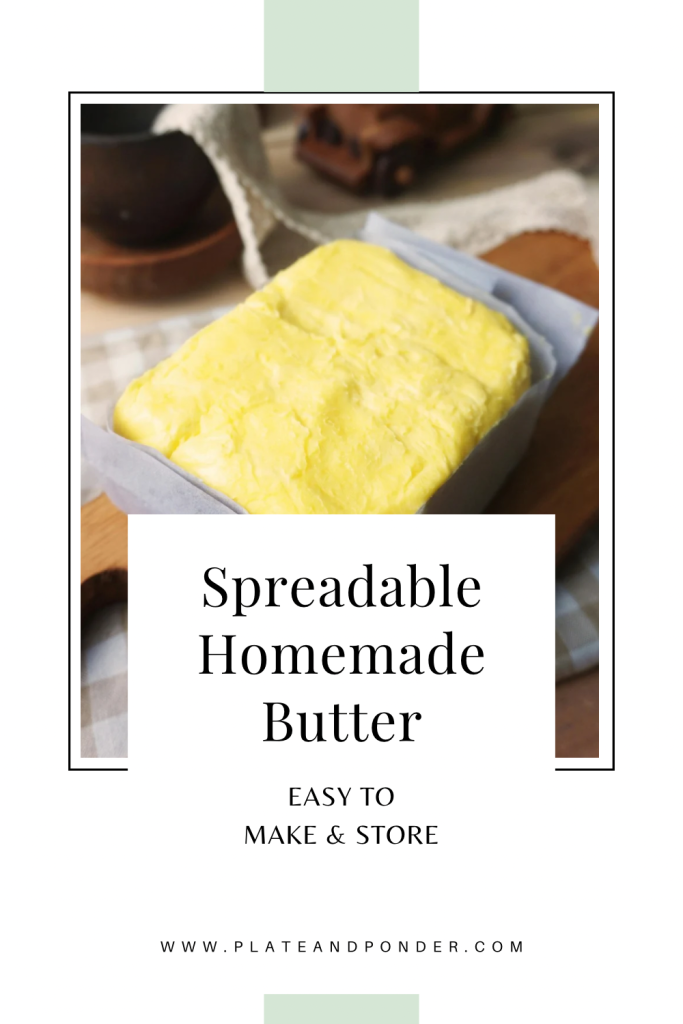
Spreadable Homemade Butter
Equipment
- Stand mixer or food processor
- Bowl
- Strainer
- Cheese cloth
Ingredients
- 2 cups heavy cream Note: organic or grass-fed cream brands will have a better taste
- 1/4 tsp salt optional
Instructions
- Pour heavy cream into a stand mixer, food processor, or jar with a lid. Use cold cream straight from the fridge for best results and less splatter during mixing.
- Whip or shake continuously until the fat separates from the buttermilk. This takes about 5–10 minutes with a mixer or 10–15 minutes if shaking by hand, and you’ll notice a thick yellow clump forming.
- Drain the buttermilk and rinse the butter under cold water.
- Use a fine mesh strainer or cheesecloth, and rinse until the water runs clear to prevent spoilage.
- Knead the butter with a spatula to remove excess liquid. Press and fold the butter against the bowl or use butter paddles to squeeze out remaining buttermilk.
- Add salt if desired and store in an airtight container. Keep it refrigerated for up to a week or freeze for longer storage.

this recipe was so easy and delicious!